Cryptocurrency has transformed the way we think about money, offering new opportunities for investment and digital transactions. However, with this innovation comes responsibility. The safety of your digital assets is critical, as online wallets and exchanges are susceptible to hacks and cyberattacks. To protect your crypto, using a hardware wallet is essential, and Trezor is one of the most trusted solutions available.
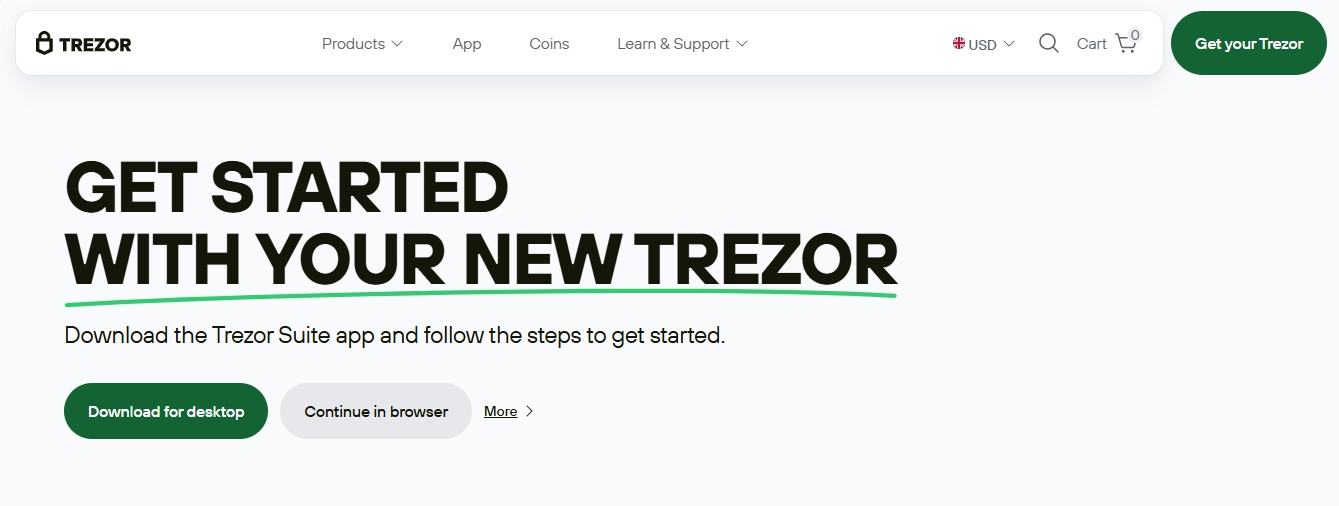
Trezor.io/Start is the official starting point for new users, providing a clear, step-by-step guide to setting up and using your Trezor device. Whether you’re a beginner or experienced crypto holder, this guide will help you secure, manage, and confidently control your cryptocurrencies.
Trezor is a hardware wallet designed to keep your cryptocurrency private keys completely offline. Private keys are the codes that allow you to access and manage your crypto. By storing them on a physical device rather than online, Trezor significantly reduces the risk of theft from hackers, malware, or phishing attacks.
Trezor supports thousands of cryptocurrencies, including Bitcoin, Ethereum, Litecoin, and many ERC-20 tokens. Its reputation for security, transparency, and reliability has made it a popular choice for both individual investors and crypto enthusiasts worldwide.
Unlike online wallets, Trezor ensures that your keys never leave the device. Every transaction must be confirmed on the hardware itself, adding an extra layer of protection that keeps your funds safe even if your computer is compromised.
Trezor offers two main models: Trezor Model One and Trezor Model T. Both provide robust security, but they cater to different preferences and levels of experience:
Both devices are excellent at securing digital assets, so your choice depends on your needs, budget, and preferred interface.
To ensure a safe setup, always begin at Trezor.io/Start, the official onboarding page. This guarantees you are using authentic software and prevents exposure to scams or counterfeit wallets.
The website will guide you through downloading Trezor Suite, the official desktop and mobile app for managing your wallet. Trezor Suite allows you to view balances, send and receive cryptocurrencies, and monitor transactions securely.
The recovery seed is the most critical part of your wallet. Write it down on the recovery card provided in the box and store it in a safe, offline location. Avoid taking screenshots or storing the seed digitally, as this can expose your funds to hackers.
Some users choose to store multiple copies of their seed in separate secure locations to protect against fire, theft, or accidental damage. Remember, anyone with access to your recovery seed can access your cryptocurrency.
Trezor will prompt you to create a PIN for daily use. This ensures that even if your device is stolen, unauthorized users cannot access your funds. Each incorrect attempt increases the time delay for the next attempt, preventing brute-force attacks.
Choose a PIN that is secure yet memorable. Avoid using simple patterns or easily guessable numbers.
After setting up your Trezor, use Trezor Suite to install apps for the cryptocurrencies you want to manage. Each app corresponds to a specific blockchain and allows you to send, receive, and track transactions securely.
To receive cryptocurrency:
To send cryptocurrency:
By following these steps, you can ensure your crypto remains safe even if your computer is compromised.